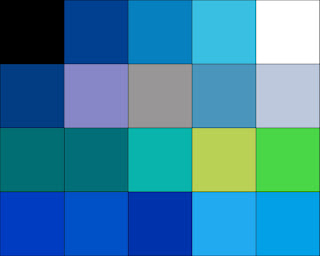
The first way of altering colours that you're told to look at are Levels, in the course materials it tells you where this tool is located in photoshop but i soon found that with mine being a newer version they redesigned and moved its position. After a little hunting around i soon discover where it was hidden and was able to contniue (with my version of photoshop you had to go through IMAGE>ADJUSTMENTS>LEVELS ). What I'm asked to do is to adjust the levels so that the orange square on the second row of the oca colour chart becomes grey. First thing to do then is to take the RGB reading (which was R=231, G=150, B=71) then going into the levels adjustment menu set the channel to red, this meant that I'm only altering the amount of red in the shot (the way i like to think about it when doing this kind of process is it's like mixing a colour using paint). What I'm trying to achieve is to get the amount of red to be the same figure or as i found as close as possible to the amount of green present. Then when I'd done this it was time for the same process with the blue until i had all three levels at about the same figure thous producing the image below.
 What's using levels give me is a very find control over the colour's in my images with the down side being as is clear above as you alter one colour it effects all the others around it.
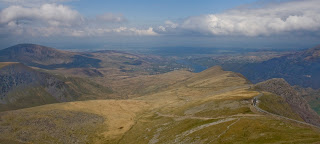
 For the final part of this project it was time to put this process to use in one of my own shots, above is a photo i took while climbing Mount Snowdon last year it isn't a particularly bad shot but when you look closely you see it has a blue colour cast that give the over shot a little bit of a cold feel. This i could now fix using levels by making the red and green values the same and neutralising the colour cast in the process.
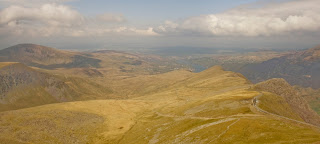
 Above is the end result of this process and I'm a little in two minds about it. Yes the colour cast is gone and the shot has a much warmer feel to it but now to me it looks a little yellow and the colour of the hills doesn't seem as natural as i remember. Again this is the one draw back to the process in that it alters all the surrounding colours while removing the cast.
This as I've said wasn't an overly taxing project but I'm more then pleased with the end results as i show I've got a good understanding of the tool and its use within photography.
No comments:
Post a Comment